
In This Article:
- Why You’ll Enjoy This Creamy Pea Pasta
- Ingredients for Creamy Pea Pasta
- How to Make Creamy Pea Pasta Step-by-Step
- Tips for Creamy Pea Pasta
- Variations & Substitutions
- How to Store & Reheat
- Creamy Pea Pasta FAQs
- Make This Creamy Pea Pasta Tonight!
Why You’ll Enjoy This Creamy Pea Pasta
There’s something so comforting about a pasta dish that feels both special and effortless, isn’t there? This creamy pea pasta is a go-to because it reminds me how simple pantry staples can become a deeply satisfying meal.
Quick & Easy Weeknight Meal
This recipe is designed for speed, coming together in under 30 minutes. It’s ideal for busy evenings when you want something homemade and nutritious without a lot of fuss. It truly helps get a warm meal on the table when time is short.
Simple, Wholesome Ingredients
Using pantry staples and fresh or frozen peas, this dish focuses on straightforward ingredients that combine to create something truly flavorful. You don’t need a specialty store; everything you need is likely already in your kitchen.
Irresistibly Creamy & Comforting
The sauce is velvety smooth and rich, perfectly coating every strand of pasta for a comforting and satisfying eating experience. It’s the balance of richness from the cream and the bright, sweet pop of the peas that makes this dish so enjoyable.
Ingredients for Creamy Pea Pasta
Let’s talk about what we need to bring this dish to life. The appeal here is in the quality of these simple elements.
Pasta
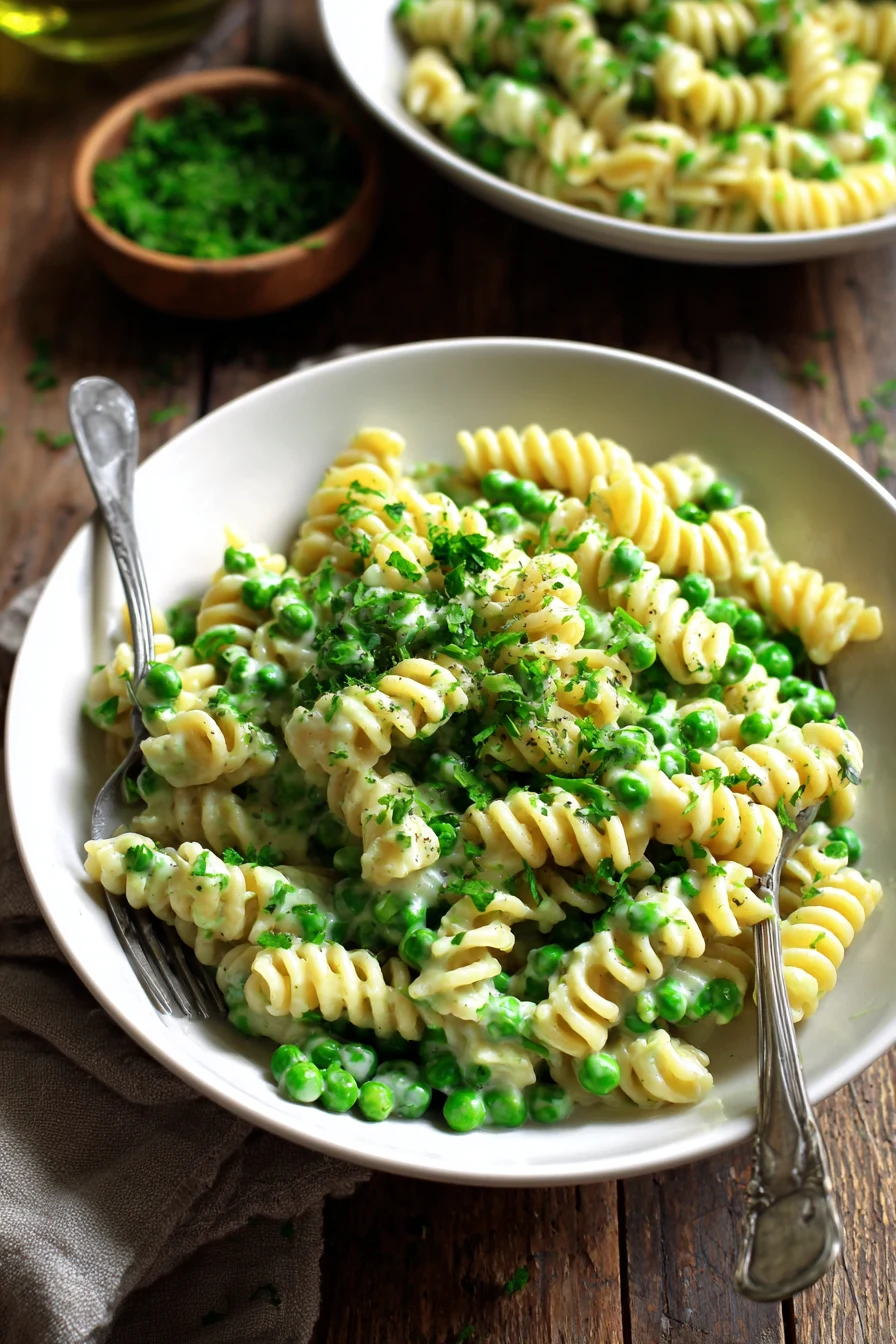
- Your Choice of Pasta: Penne, fusilli, spaghetti, or linguine work well. I often reach for penne or fusilli because their shapes hold onto the creamy sauce nicely. Any shape you have on hand will work.
- Salt: For seasoning the pasta cooking water. This is a crucial step! The water should taste noticeably salty, like the ocean, to season the pasta from the inside out.
For the Creamy Pea Sauce
- Olive Oil: A good drizzle of extra virgin olive oil is my preference for sautéing, adding a lovely foundational flavor. Unsalted butter works just as well if you prefer a different richness.
- Garlic: Freshly minced for aromatic depth. About 2-3 cloves give a fragrant backbone without overpowering the delicate peas. If using jarred minced garlic, about 1 teaspoon equals one clove.
- Frozen Peas: Or fresh peas when in season. Frozen peas are convenient; they cook quickly and maintain their color and sweet flavor. No need to thaw them. If using fresh peas, blanch them briefly first.
- Vegetable Broth: Or chicken broth for a savory base. This helps build the sauce’s body and adds gentle, savory depth. If you don’t have broth, water with a pinch of bouillon can work, but broth adds more character.
- Heavy Cream: The key to the sauce’s luxurious texture. This provides that irresistible velvety mouthfeel. For a slightly lighter version, you can use half-and-half, but the cream truly makes it special.
- Parmesan Cheese: Freshly grated for best flavor and melt. A block of good quality Parmesan (Parmigiano-Reggiano, if possible) makes all the difference. Pre-grated cheese often contains anti-caking agents that can make your sauce gritty.
- Lemon Zest & Juice: A bright counterpoint to the richness. This addition cuts through the creaminess beautifully, waking up all the flavors and adding a wonderful freshness.
- Salt & Black Pepper: To taste. Always taste as you go! Seasoning is personal.
Optional Garnishes
- Fresh Mint or Basil: Adds a fresh, herbaceous note and a pop of color. Mint is surprisingly good with peas.
- Extra Parmesan: For serving. More cheese is always a good idea.
- Red Pepper Flakes: For a touch of heat, if you like a little kick.
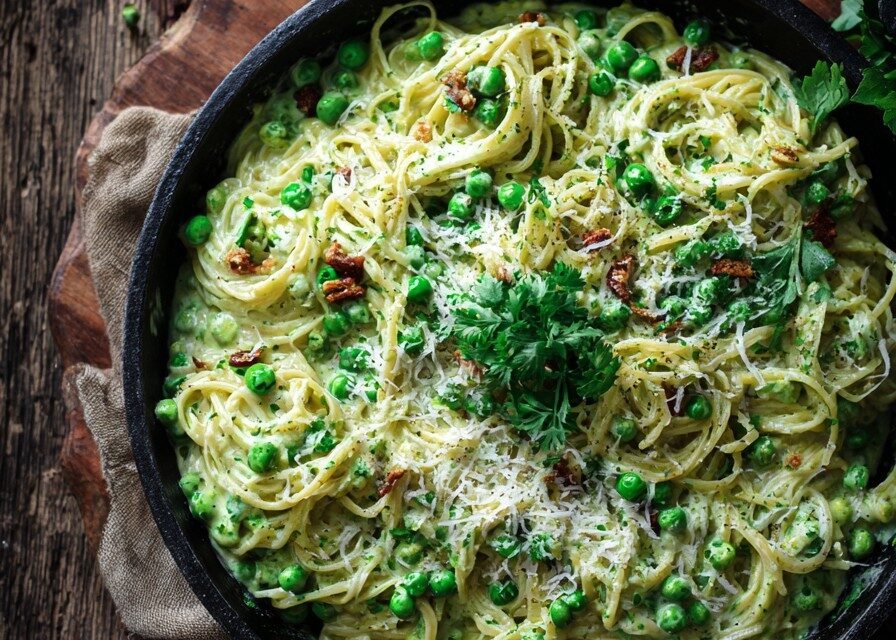
How to Make Creamy Pea Pasta Step-by-Step
This is where it all comes together. It’s simpler than you might think to build layers of flavor for a comforting meal.
Step 1: Cook the Pasta
- Bring a large pot of salted water to a rolling boil. The water needs to be generously salted; for a standard pot, I add about 1-2 tablespoons of kosher salt.
- Add your chosen pasta and cook according to package directions until al dente. “Al dente” means firm but with a slight bite, not mushy. The pasta will cook slightly more when tossed with the hot sauce.
- Reserve about 1 cup of pasta cooking water before draining. This starchy water helps to emulsify the sauce, making it silky smooth and ensuring it clings beautifully to the pasta. Don’t forget this step!
Step 2: Sauté Aromatics
- While the pasta cooks, start your sauce. In a large skillet or Dutch oven, heat 1 tablespoon of olive oil over medium heat.
- Add the minced garlic. Sauté gently for about 30-60 seconds, just until it becomes fragrant and lightly golden. Watch it carefully; burnt garlic turns bitter.
Step 3: Build the Pea Sauce
- Pour in the vegetable broth. Let it come to a gentle simmer, scraping up any browned bits from the bottom of the pan with a wooden spoon.
- Add the frozen peas. Stir them into the simmering broth. Let them cook for about 2-3 minutes, just until tender and bright green. They don’t need much time to warm through.
- Reduce the heat to low. Now, stir in the heavy cream. Whisk gently until fully incorporated, creating a luscious base for the sauce. Keep the heat low to prevent the cream from splitting.
Step 4: Finish the Sauce & Combine
- Add the freshly grated Parmesan cheese. Stir constantly until it melts smoothly into the sauce. This adds savory depth and helps to thicken it.
- Add the lemon zest and a squeeze of fresh lemon juice. Start with half a lemon’s juice and a teaspoon of zest, then taste. You can always add more for an extra bright lift.
- Season the sauce with salt and black pepper to taste. Remember that the pasta water was salted and Parmesan is salty, so taste before adding too much.
- Add the drained pasta directly to the skillet with the sauce. Pour in about 1/2 cup of the reserved pasta cooking water.
- Toss everything together gently but thoroughly. Continue tossing for 1-2 minutes, allowing the pasta to absorb some sauce and the starches from the pasta water to emulsify. If the sauce seems too thick, add more reserved pasta water a tablespoon at a time until you reach your desired creamy, clingy consistency.
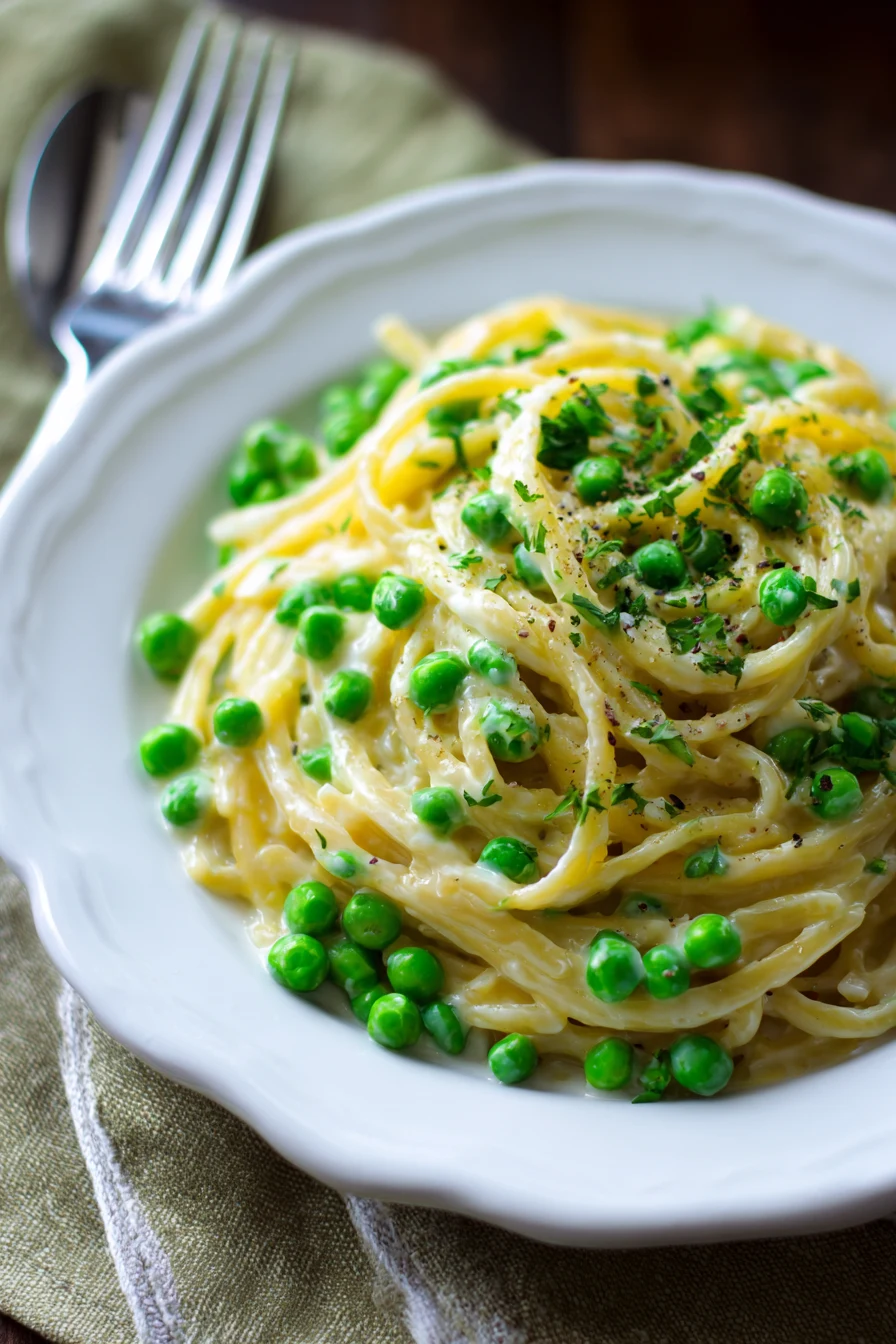
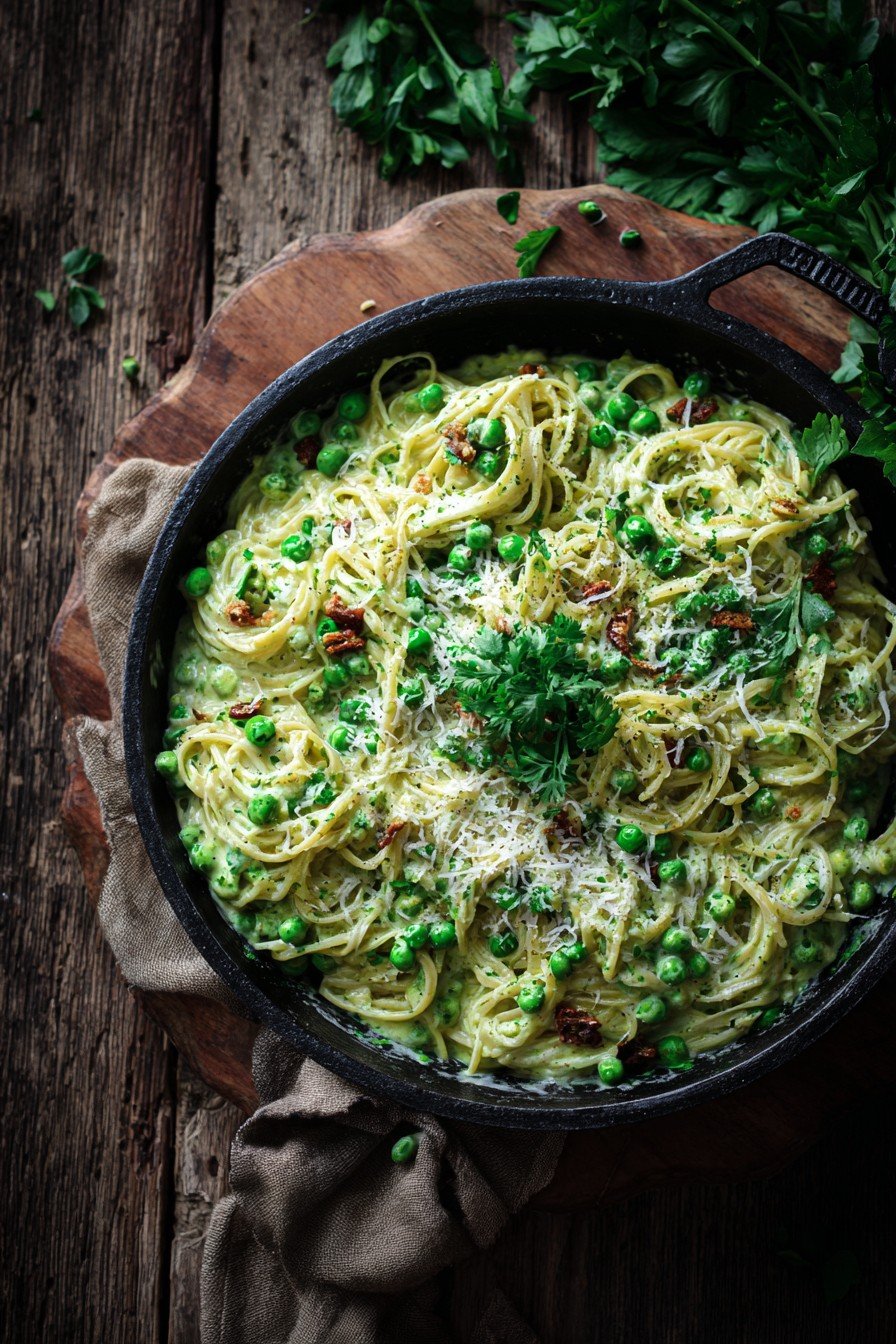
Step 5: Serve & Garnish
- Dish out immediately into warm bowls. This pasta is best freshly made.
- Garnish with optional fresh mint or basil, extra Parmesan, and a pinch of red pepper flakes if desired. A final drizzle of good olive oil can also add a nice touch. Enjoy!
Tips for Creamy Pea Pasta
After years of cooking pasta, I’ve picked up a few tricks that truly make a difference. These aren’t complicated, but they help achieve a memorable result.
Don’t Overcook Your Pasta
This is my golden rule for any pasta dish. Overcooked pasta is mushy and won’t absorb the sauce as well. Always aim for *al dente* – firm to the bite. It will continue to cook slightly when you toss it with the hot sauce, so pulling it a minute or two shy of the package instructions is often a good idea.
Taste and Adjust Seasoning
Your taste buds are your best tool. Taste the sauce before adding the pasta, and then taste the finished dish. Does it need more salt? A brighter lift from more lemon? Don’t hesitate to adjust. Cooking is an art, and personalizing the seasoning makes a dish truly yours. Remember that Parmesan cheese adds saltiness too!
Embrace the Pasta Water
This starchy, salty water is invaluable. It’s not just for thinning the sauce; the starches help to create a beautiful emulsion with the fats in the cream and cheese, making your sauce incredibly smooth and ensuring it clings perfectly to every strand. I always grab about a cup, sometimes more, because you never know how much you’ll need.
Freshly Grated Parmesan Makes All the Difference
I can’t stress this enough. Pre-grated Parmesan often contains anti-caking agents that can make your sauce gritty or prevent it from melting smoothly. A block of good quality Parmigiano-Reggiano, freshly grated, will melt into a dreamy, smooth sauce and provide a much richer, authentic flavor. It’s a small effort that yields a huge reward.
A Zest of Lemon for Brightness
That little bit of lemon zest and juice is the secret ingredient that truly brightens this rich, creamy dish. It cuts through the richness of the cream and cheese, preventing the dish from feeling heavy, and highlights the sweetness of the peas. It adds a wonderful freshness that lifts all the other flavors. Don’t skip it!
Warm Your Serving Bowls
This is a small but mighty tip, especially for creamy pasta dishes. Serving hot pasta on a cold plate can cool it down too quickly, making the sauce less enjoyable. A quick rinse of your bowls with hot water or popping them in a warm (not hot!) oven for a few minutes before serving will keep your pasta warm and delicious down to the last forkful.
Consider Your Pan Size
When making the sauce, use a skillet or Dutch oven that’s large enough to comfortably toss the pasta in later. This ensures all the pasta gets evenly coated with the delicious sauce without making a mess. A cramped pan means uneven coating and can even make the pasta stick together.
Don’t Rush the Garlic
When sautéing the garlic, take your time over medium-low heat. You want it to become fragrant and slightly golden, not browned or burnt. Burnt garlic will impart a bitter taste to your entire sauce, and there’s no coming back from that! Gentle heat is key for coaxing out its best flavor.
Embrace the Peas, Fresh or Frozen
While fresh peas in season are a dream, frozen peas are perfectly acceptable and convenient for this recipe. They’re picked and flash-frozen at their peak, so their sweetness and color are well preserved. No need to thaw them; they’ll cook beautifully right in the sauce. This makes it a dish you can enjoy year-round.
Variations & Substitutions

One of the beautiful things about cooking at home is the freedom to adapt a recipe to your pantry, your preferences, and what’s in season. This creamy pea pasta is wonderfully versatile!
Add Protein for a Heartier Meal
- Chicken: Sauté cubed chicken breast or thighs in the skillet before adding the garlic. Remove it, then add it back to the sauce at the end to warm through. Cooked leftover chicken works well too.
- Shrimp: Add cooked shrimp to the sauce in the last minute or two of cooking, just enough to warm them through. Shrimp and peas are a classic combination.
- Pancetta or Bacon: Render some diced pancetta or bacon until crispy. Remove most of the fat, leaving a tablespoon or two, then proceed with the garlic. Crumble the crispy bits over the finished pasta. The salty, smoky notes are incredible with the sweet peas.
- Sausage: Cook Italian sausage (sweet or spicy) and crumble it into the sauce. Remove the casing before cooking if using links.
- Cannellini Beans: For a vegetarian protein boost, stir in a can of rinsed cannellini beans at the same time as the peas. They’ll add a lovely creaminess and heartiness.
Vegetable Additions
- Spinach or Arugula: Stir in a few handfuls of fresh spinach or arugula at the very end. The residual heat will wilt them perfectly, adding extra greens and a slight peppery note.
- Asparagus: Blanch thinly sliced asparagus spears and add them to the sauce along with the peas for a spring twist.
- Mushrooms: Sauté sliced mushrooms (cremini or button) with the garlic for an earthy depth.
Cheese Swaps
- Pecorino Romano: For a sharper, saltier flavor, swap out some or all of the Parmesan for Pecorino Romano.
- Goat Cheese or Feta: A crumble of goat cheese or feta stirred in at the end can add a tangy creaminess that pairs surprisingly well with peas.
Make it Lighter
- Half-and-Half or Milk: While heavy cream provides the best texture, you can substitute it with half-and-half for a slightly lighter sauce. Whole milk can also work but will result in a thinner, less rich sauce.
- Cashew Cream (Dairy-Free): For a dairy-free option, blend 1/2 cup raw cashews (soaked in hot water for 15 minutes, then drained) with 1/2 cup vegetable broth until completely smooth. Use this in place of heavy cream.
Herbs & Spices
- Dill: Fresh dill pairs wonderfully with peas and lemon, offering a unique fresh flavor.
- Chives: A sprinkle of fresh chives adds a mild oniony note.
- Nutmeg: A tiny pinch of freshly grated nutmeg can warm up the creamy sauce without overpowering it.
How to Store & Reheat
While this creamy pea pasta is best enjoyed fresh, it stores reasonably well for leftovers. The sauce will thicken in the fridge, but it can be brought back to life.
Storage
- Refrigerator: Store any leftover pasta in an airtight container in the refrigerator for up to 3-4 days.
Reheating
- Stovetop: This is the best method for reheating. Place the leftovers in a skillet over medium-low heat. Add a splash or two of milk, cream, or vegetable broth to help loosen the sauce. Stir gently and cook until heated through, adding more liquid as needed until the sauce is creamy again.
- Microwave: For a quick reheat, place a portion in a microwave-safe dish. Add a tablespoon or two of milk or broth. Cover loosely and microwave in 30-60 second intervals, stirring in between, until heated through. Be careful not to overheat, as this can make the sauce separate.
Creamy Pea Pasta FAQs
Can I use fresh peas instead of frozen?
Yes, absolutely! If using fresh peas, blanch them in boiling water for 1-2 minutes until tender-crisp before adding them to the sauce. This helps set their vibrant color and ensures they cook evenly.
What if my sauce is too thick or too thin?
If your sauce is too thick, gradually stir in more reserved pasta water (or a splash of broth/cream) until it reaches your desired consistency. If it’s too thin, let it simmer gently for a few more minutes to reduce, or add a little extra grated Parmesan to help thicken it.
Can I make this dairy-free?
Yes, you can! Substitute heavy cream with a good quality full-fat coconut milk (from a can, not a carton) or a homemade cashew cream. Use nutritional yeast for a cheesy flavor in place of Parmesan, or a dairy-free Parmesan alternative.
Make This Creamy Pea Pasta Tonight!
This creamy pea pasta is more than just a quick meal; it’s an invitation to enjoy simple, satisfying flavors. Whether you’re making it for a busy weeknight or a cozy weekend lunch, I hope this recipe brings a little comfort and joy to your table. Give it a try soon!
PrintEasy Creamy Pea Pasta Recipe
- Prep Time: 10
- Cook Time: 30
- Total Time: 40
- Yield: 4 servings 1x
- Category: Main Course
- Method: Stovetop, Mixing
- Cuisine: Italian
- Diet: Vegetarian
Description
This creamy pea pasta offers a delicious and incredibly easy weeknight meal, perfect for busy evenings. It delivers satisfying flavors and a smooth, velvety sauce that coats every strand of pasta beautifully. Made with fresh or frozen peas and your favorite pasta, it’s a wholesome and comforting dish the whole family will enjoy. If you’re looking for another comforting pasta dish, try this Creamy Vegan Red Pepper Pasta.
Ingredients
- 12 ounces (340g) dried pasta (penne, fusilli, spaghetti, or linguine)
- 2 tablespoons olive oil or butter
- 1 small yellow onion, finely diced
- 2 cloves garlic, minced
- 1 ¾ cups vegetable broth or chicken broth
- 1 ½ cups frozen peas, thawed
- ¾ cup heavy cream
- ¼ cup grated Parmesan cheese, plus more for serving
- ¼ cup fresh parsley, chopped (optional, for garnish)
- Salt, to taste
- Black pepper, to taste
Instructions
- Bring a large pot of generously salted water to a rolling boil. Add the pasta and cook according to package directions until al dente, usually 8-10 minutes. Before draining, reserve 1 cup of the pasta cooking water. Drain the pasta and set aside.
- While the pasta cooks, prepare the sauce. Heat olive oil or butter in a large skillet or deep pan over medium heat. Add the finely diced onion and cook, stirring occasionally, until softened and translucent, about 5-7 minutes.
- Stir in the minced garlic and cook for another minute until fragrant, being careful not to let it burn.
- Pour in the vegetable or chicken broth and bring it to a simmer. Add the thawed peas and cook for 3-5 minutes, allowing them to heat through and soften slightly.
- Reduce the heat to low, then stir in the heavy cream and ¼ cup of grated Parmesan cheese. Cook gently for 2-3 minutes, allowing the sauce to thicken slightly. Season with salt and black pepper to taste.
- Add the drained pasta to the skillet with the sauce. Toss well to coat every strand. If the sauce seems too thick, add a splash of the reserved pasta water, a tablespoon at a time, until it reaches your desired consistency.
- Serve immediately, garnished with extra grated Parmesan cheese and fresh chopped parsley, if desired.
Notes
- For a richer flavor, you can add a pinch of red pepper flakes with the garlic.
- Fresh peas can be used instead of frozen; simply blanch them quickly before adding to the sauce.
- If you prefer a smoother sauce, you can blend about half of the cooked peas with a little broth before adding them to the skillet.
Nutrition
- Array