In This Article
- Why You’ll Love This Japanese Yogurt Cheesecake
- Ingredients for Viral Japanese Yogurt Cheesecake
- How to Make Viral Japanese Yogurt Cheesecake
- Pro Tips & Common Pitfalls
- Creative Variations & Smart Substitutions
- Storing & Serving Your Cheesecake
- Quick FAQ
- Enjoy Your Creamy Japanese Yogurt Cheesecake!
Why You’ll Love This Japanese Yogurt Cheesecake
This cheesecake’s “viral” buzz comes from its unique combination of impressive results and simple execution. It’s a dessert that truly delivers on taste and texture.
The Perfect Balance of Creamy and Tangy
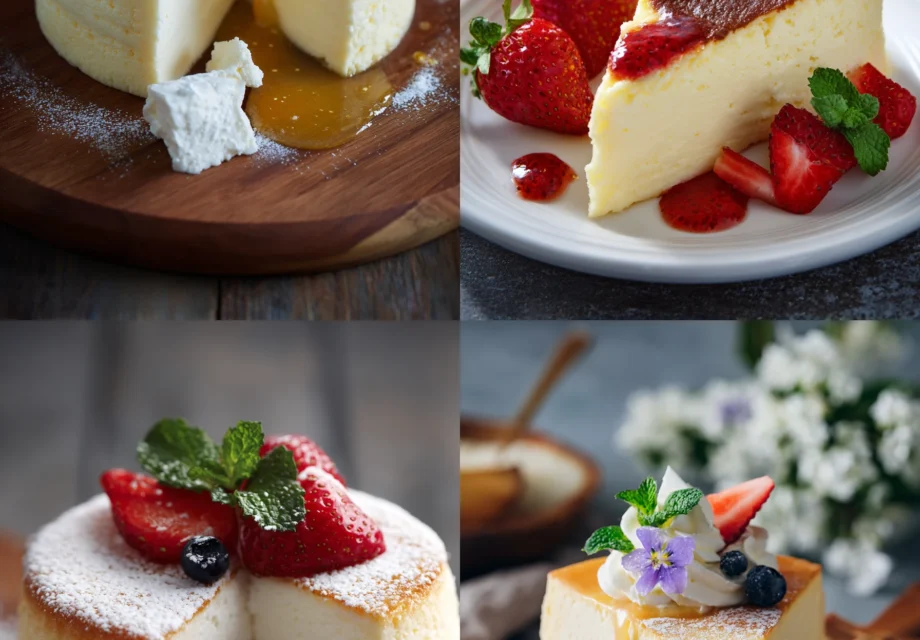
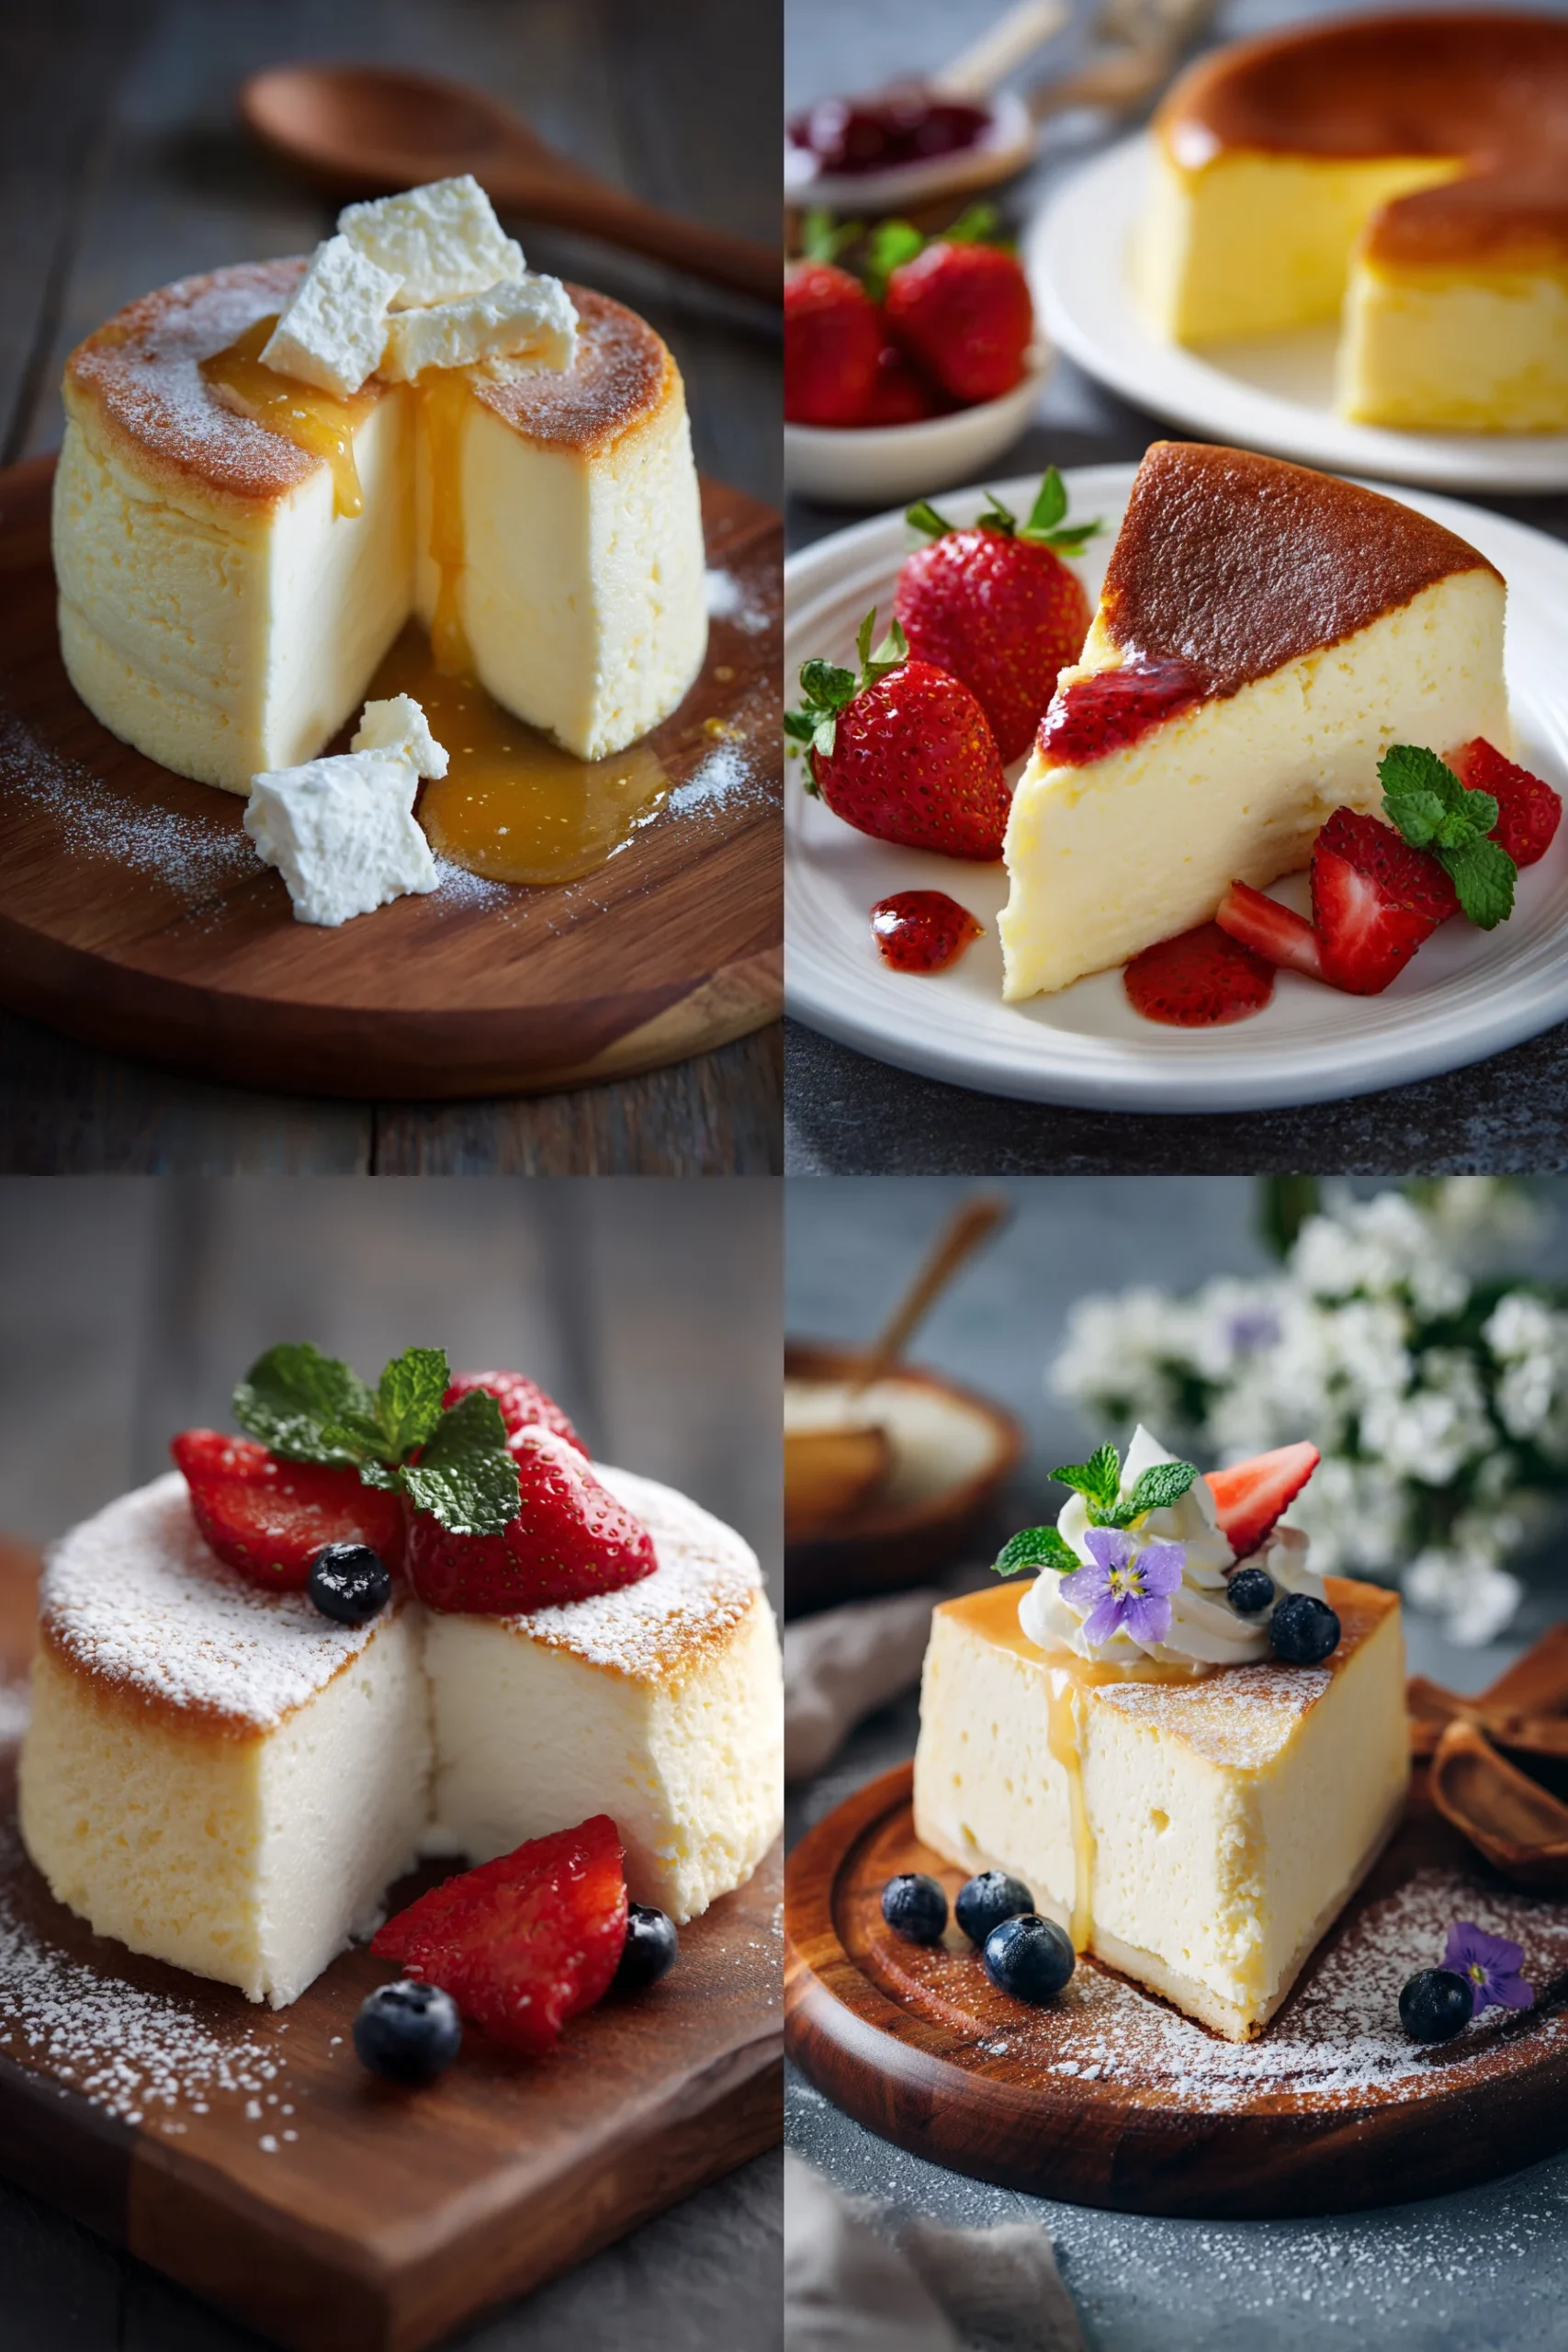
The magic of this dessert lies in its harmonious flavors. It’s rich and incredibly creamy, yet the yogurt and lemon provide a bright, refreshing tang. This cheesecake is never overly sweet, allowing nuanced dairy and citrus notes to truly sing. It feels wonderfully indulgent yet remarkably light, making it a perfect end to any meal.
Simple Methods, Everyday Ingredients
Every ingredient for this Viral Japanese Yogurt Cheesecake is easily found. The techniques are straightforward, focusing on proper mixing and gentle handling. If you’re new to baking cheesecakes, this is a fantastic place to start.
Lighter, Fluffier Texture Than Traditional Cheesecakes
If you’re used to the dense richness of a New York-style cheesecake, prepare for a delightful surprise. This version boasts an ethereal, cloud-like texture that’s almost souffle-like. It truly jiggles beautifully and practically melts on your tongue. This unique texture is a direct result of carefully folding in whipped egg whites.
Ingredients
Gathering your ingredients ensures that perfect texture and taste. For best results, make sure everything is at room temperature before you begin.
- Full-Fat Cream Cheese: Essential for a rich, creamy base. Soften completely to avoid lumps.
- Plain Greek Yogurt: Use full-fat, unsweetened Greek yogurt for signature tang and a light, custardy feel.
- Large Eggs: Separate yolks and whites carefully. Room temperature for smooth emulsification and maximum volume.
- Granulated Sugar: Provides sweetness and stabilizes whipped egg whites, creating crucial structure.
- Cornstarch or Cake Flour: Key for achieving a silky, delicate texture and preventing cracks.
- Fresh Lemon Juice & Zest: Brightens flavor and enhances tanginess. Don’t skip it!
- Unsalted Butter: Melted and slightly cooled. Adds richness and contributes to delicate structure.
- Vanilla Extract: Good quality vanilla adds warmth and depth.
- Pinch of Salt: Balances sweetness and enhances other flavors.
How to Make Viral Japanese Yogurt Cheesecake Step by Step
Achieving that perfect jiggle and incredibly creamy texture relies on gentle handling and key steps. Follow these instructions carefully.
Prepare Your Ingredients & Pan
Preheat oven to 325°F (160°C). Lightly grease an 8-inch springform pan, then line the bottom and sides with parchment paper, extending about 2 inches above the rim. Wrap the bottom and sides of the pan tightly with two layers of heavy-duty aluminum foil. Place a larger roasting pan on an oven rack.
Mixing the Viral Japanese Yogurt Cheesecake Batter
In a large bowl, beat softened cream cheese until smooth. Gradually beat in granulated sugar until well combined. Add egg yolks one at a time, mixing thoroughly. Stir in the Greek yogurt, melted butter, lemon juice, lemon zest, vanilla extract, and salt. Sift cornstarch (or cake flour) over the mixture and gently fold it in until just combined. Avoid overmixing.
Achieving a Fluffy Texture: Whipping Egg Whites
In a separate, very clean, dry bowl, beat room-temperature egg whites until foamy. Increase mixer speed to medium-high and continue to beat until soft peaks form. Avoid overbeating to stiff, dry peaks.
Folding & Pouring—Creating Airy Layers
Add about a third of the whipped egg whites to the cream cheese batter and gently fold to lighten. Then, add the rest of the egg whites. Fold very carefully using a light, lifting motion. Stop as soon as no streaks of white remain. Pour the airy batter into your prepared springform pan. Gently tap the pan on the counter a few times to release large air bubbles.
Baking in a Water Bath for the Signature Jiggle
Carefully place the foil-wrapped cheesecake pan into the larger roasting pan. Pour hot water into the roasting pan until it comes halfway up the sides of the cheesecake pan. Bake for approximately 60-70 minutes, or until the edges are set but the center still has a slight wobble.
Cooling and Unmolding for a Show-Stopping Result
Once baked, turn off the oven but leave the cheesecake inside with the oven door ajar for an hour. Remove and cool completely on a wire rack. Once entirely cool, cover with plastic wrap and refrigerate for at least 4 hours, preferably overnight. Chilling is crucial for setting and flavor melding. After chilling, carefully unmold and slice your gorgeous, creamy dessert.
Pro Tips and Common Pitfalls for Making Japanese Yogurt Cheesecake
Achieve a perfect Viral Japanese Yogurt Cheesecake every time with these helpful tips.
Tips for a Smooth, Lump-Free Batter
- Room Temperature Ingredients: Essential for cream cheese and eggs for smoother emulsification.
- Sift Dry Ingredients: Always sift cornstarch or cake flour to prevent clumps and ensure delicate texture.
- Gentle Folding: Use a rubber spatula and a light, lifting motion for egg whites. Overmixing leads to a dense cheesecake.
Avoiding Collapsed or Cracked Tops
- Don’t Overbake: Watch for a gentle jiggle in the center; overbaking causes cracks and dry texture.
- Slow Cooling: Gradual cooling in the oven with the door ajar prevents sudden temperature changes that cause cracking.
- Water Bath is Key: Creates a moist, consistent cooking environment, minimizing temperature fluctuations for even baking.
Getting That Viral “Jiggle” Every Time
The iconic jiggle indicates a delicate, custardy interior – the hallmark of this cheesecake.
- Don’t Disturb Oven: Avoid opening the oven door too often during baking to maintain temperature.
- Check for Wobble: The center should still have a slight, custardy wobble. It will firm up as it chills.
Creative Variations & Substitutions
While the classic Viral Japanese Yogurt Cheesecake is delicious, don’t hesitate to experiment!
Make It Gluten-Free or Dairy-Free
- Gluten-Free: Substitute cornstarch with a high-quality gluten-free all-purpose flour blend containing xanthan gum.
- Dairy-Free: Use reputable dairy-free cream cheese, a thick plain unsweetened dairy-free yogurt, and a good quality dairy-free butter substitute.
Fun Flavor Twists (Matcha, Chocolate, Citrus)
- Matcha: Whisk 1-2 tablespoons ceremonial grade matcha powder into dry ingredients.
- Chocolate: Melt 1/4 cup dark chocolate and fold into the cream cheese mixture after egg yolks.
- Extra Citrus: Double the lemon zest and juice, or try lime or orange zest/juice.
Using Different Yogurts or Sweeteners
- Different Yogurts: While full-fat Greek yogurt is best, other full-fat, plain, unsweetened, thick yogurts like skyr can work.
- Sweeteners: A fine granulated sugar substitute that measures cup-for-cup can be used. For other natural sweetener ideas, check out this peach and nuts dump cake.
The Best Ways to Store and Serve Japanese Yogurt Cheesecake
Proper storage ensures your delightful Viral Japanese Yogurt Cheesecake stays fresh.
Refrigeration—Keeping It Fresh for Days
Once completely cooled and thoroughly chilled, store your cheesecake in an airtight container or wrapped tightly in plastic wrap. It will stay delicious for 3-5 days in the refrigerator.
Freezing for Long-Term Storage
This cheesecake freezes beautifully! Ensure it’s fully chilled. Wrap individual slices or the entire cheesecake tightly in plastic wrap, then add aluminum foil. Freeze for up to 1 month. Thaw in the refrigerator overnight.
Serving Gently for Taste & Texture
This cheesecake is best served chilled, or at a cool room temperature. No reheating is required or recommended, as it can ruin its ethereal texture. If you prefer it slightly less cold, let individual slices sit at room temperature for 15-20 minutes before serving. Garnish with fresh berries or powdered sugar.
Quick FAQ:
Here are a few common questions about this delicious and popular cheesecake.
Can I Make This Cheesecake Ahead of Time?
Absolutely, and I highly recommend it! Making this Viral Japanese Yogurt Cheesecake the day before allows ample time for it to chill properly, firm up beautifully, and lets all the wonderful flavors fully meld. It’s even better on day two!
Does It Need to Be Baked in a Water Bath?
Yes, the water bath is crucial. It provides a moist, even cooking environment that prevents cracking and ensures that signature smooth, custardy texture. Please do not skip this essential step for the best results.
Can I Double the Recipe for a Larger Crowd?
While you can double the ingredients, it’s generally better to bake two separate 8-inch cheesecakes rather than trying to fit a doubled recipe into one larger pan. Baking two smaller ones yields superior results for texture and even baking.
Enjoy Your Creamy Japanese Yogurt Cheesecake!
There’s unique satisfaction in transforming simple ingredients into a dessert that brings joy. This Viral Japanese Yogurt Cheesecake delivers on all fronts, feeling both comforting and elegantly impressive. The creamy, tangy flavors and incredibly light, airy texture are a testament to paying attention to the details in your baking. You’ll absolutely love the airy, melt-in-your-mouth quality of this delightful treat.
Comment, Rate, or Share Your Success!
I’d love to hear how your cheesecake turns out! Please drop a comment below, rate the recipe, or share your beautiful photos with our community. Your kitchen stories are what truly make Pastamuse thrive.
Try This Easy Japanese Yogurt Cheesecake Recipe Today
Don’t let intimidation hold you back; give this recipe a try. You’ll be wonderfully surprised at how effortlessly you can create this show-stopping, perfectly jiggly dessert right in your own kitchen. For more delicious dessert ideas, you might also like our lemon poppyseed dump cake.
Helpful References:
Viral Japanese Yogurt Cheesecake with Creamy Tangy Flavor
- Prep Time: 10
- Cook Time: 30
- Total Time: 4
- Yield: 8 servings 1x
- Category: Dessert
- Method: Baking, Mixing
- Cuisine: Japanese
- Diet: Vegetarian
Description
This Viral Japanese Yogurt Cheesecake offers a delightful balance of creamy richness and refreshing tang, achieving a signature melt-in-your-mouth texture. It’s renowned for its ethereal, cloud-like consistency, making it feel indulgent yet surprisingly light. This recipe guides you to create a show-stopping dessert that jiggles beautifully and tastes absolutely heavenly. It’s a truly unique cheesecake experience, distinct from traditional dense varieties.
Ingredients
- 200 g full-fat cream cheese, softened at room temperature
- 100 g plain full-fat yogurt, at room temperature
- 60 g unsalted butter, melted
- 3 large eggs, separated
- 70 g granulated sugar, divided
- 2 tbsp fresh lemon juice
- 1 tsp vanilla extract
- 30 g all-purpose flour
- 15 g cornstarch
- Pinch of salt
- Optional: Zest of 1/2 lemon for garnish
Instructions
- Prepare your pan: Preheat oven to 160°C (325°F). Grease and line the bottom of an 18cm (7-inch) round springform pan with parchment paper. Wrap the bottom and sides of the pan tightly with aluminum foil to prevent water from entering during the water bath.
- Make the cheese mixture: In a large bowl, whisk together the softened cream cheese, yogurt, melted butter, and lemon juice until smooth and lump-free. Stir in the vanilla extract.
- Add egg yolks: Gradually whisk in the egg yolks one at a time into the cream cheese mixture until fully incorporated and smooth.
- Sift dry ingredients: Sift the flour and cornstarch directly over the cream cheese mixture. Fold gently with a spatula until just combined, being careful not to overmix. Set aside.
- Whip egg whites: In a separate clean bowl, using an electric mixer, beat the egg whites on medium speed until foamy. Gradually add half of the granulated sugar (35g) while continuing to beat on medium-high speed. Continue beating until soft peaks form, then add the remaining sugar and beat until medium-firm, glossy peaks form. The meringue should hold its shape but still be soft and pliable.
- Combine mixtures: Gently fold one-third of the meringue into the cream cheese mixture to lighten it. Then, add the remaining meringue and fold carefully using a spatula until just combined, ensuring no streaks of egg white remain. Be gentle to maintain the airy volume.
- Pour into pan and bake: Pour the batter into the prepared springform pan. Place the springform pan into a larger baking pan, then carefully pour hot water into the larger pan until it reaches about halfway up the sides of the springform pan (creating a water bath).
- Bake: Bake for 30-35 minutes, or until the top is golden brown and the cheesecake is set but still slightly jiggly in the center when gently shaken. The internal temperature should be around 75°C (167°F).
- Cool: Turn off the oven, prop the oven door open slightly, and let the cheesecake cool in the oven for at least 30 minutes to prevent cracking.
- Chill: Remove the cheesecake from the oven and water bath. Carefully unwrap the foil and let it cool completely on a wire rack at room temperature. Once cool, cover and refrigerate for at least 4 hours, or preferably overnight, before serving.
- Serve: Carefully remove the cheesecake from the pan. Garnish with lemon zest if desired and serve chilled.
Notes
- Ensure all dairy ingredients and eggs are at room temperature for a smooth, lump-free batter.
- Do not overmix the batter after adding flour, and be gentle when folding in the meringue to maintain the cake’s light texture.
- Using a water bath (bain-marie) is crucial for even cooking and preventing cracks.
- Cooling the cheesecake slowly in the oven helps prevent it from deflating and cracking.
- Chilling thoroughly is essential for the cheesecake to firm up and develop its full flavor and texture.
Nutrition
- Array